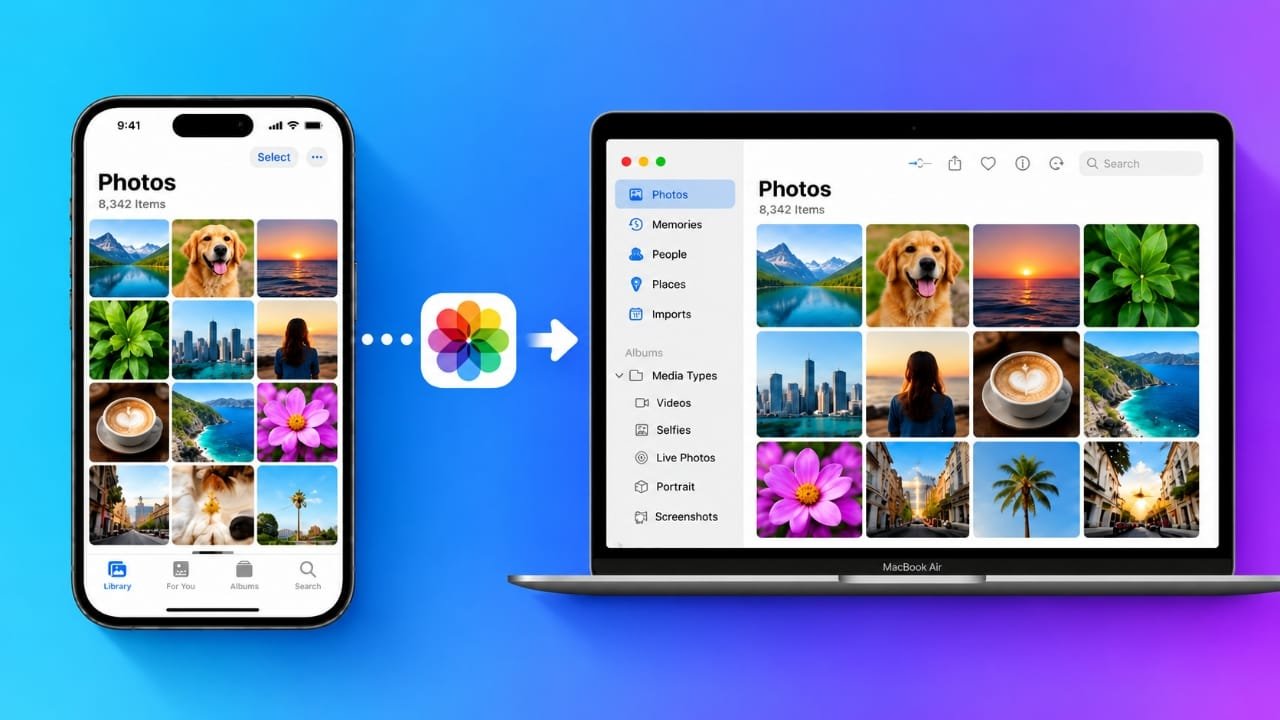
Moving photos from an iPhone to a MacBook Air is quite simple. Apple provides several ways to do it, so you can choose the option that fits your needs.
If you only need to send a few pictures, AirDrop is usually the easiest choice. For keeping your photo library updated between devices, iCloud Photos is more convenient. If you have a large number of photos and want to transfer them once, a USB cable and the Photos app can be a better option.
Here are the main methods you can use.
Also read: How to Remove an Email Account From an iPhone
1. Transfer Photos Using AirDrop
AirDrop is useful when you want to quickly send a small number of photos from your iPhone to your MacBook Air.
Steps to use AirDrop
- Turn on Wi-Fi and Bluetooth on both devices.
- Keep your iPhone and MacBook Air close to each other.
- Open the Photos app on your iPhone.
- Tap Select and choose the photos or videos you want to send.
- Tap the Share button.
- Select AirDrop and choose your MacBook Air.
- Accept the transfer on your Mac if a confirmation appears.
Depending on how the files are shared, the transferred photos may appear in the Mac’s Downloads folder or become available through the Photos app.
If your Mac does not appear in AirDrop, check the AirDrop visibility settings on both devices. You can also temporarily adjust the discovery option and try again.
2. Use iCloud Photos for Automatic Syncing
If you want your photos to stay available on both your iPhone and MacBook Air, iCloud Photos can be a convenient solution.
Instead of manually transferring individual pictures, iCloud can keep your photo library synchronized across devices signed in to the same Apple Account.
Turn on iCloud Photos on iPhone
- Open Settings.
- Tap your name at the top.
- Select iCloud.
- Open Photos.
- Turn on Sync this iPhone.
Enable iCloud Photos on Mac
- Open the Photos app.
- Go to Photos > Settings.
- Select the iCloud section.
- Turn on iCloud Photos.
- Make sure the Mac is using the same Apple Account.
Keep both devices connected to the internet and give the service some time to synchronize your library.
Advertisements
Important thing to know about iCloud Photos
iCloud Photos works as a synchronized photo library rather than simply creating another independent copy.
For example, if you delete a photo from the synchronized library, that change can also be reflected on your other devices. Therefore, make sure you understand how syncing works before deleting photos.
If you have a large photo collection, check your available iCloud storage as well.
3. Transfer Photos With a USB Cable
A cable is a good option when you want to move a large number of photos directly from your iPhone to your MacBook Air.
How to import photos
- Connect the iPhone to your MacBook Air using a compatible cable or adapter.
- Unlock the iPhone.
- If the iPhone asks you to trust or allow the connected Mac, follow the on-screen instructions.
- Open the Photos app on your Mac.
- Look for your iPhone under the Devices section.
- Select the photos you want to transfer.
- Choose the destination album if required.
- Click Import Selected or Import All New Items.
- Wait until the transfer is finished before disconnecting the iPhone.
This method gives you more control over which photos are imported and is particularly useful for larger transfers.
4. Save Photos Directly to a Folder With Image Capture
If you don’t want to add the photos directly to your Mac’s Photos library, you can use Apple’s Image Capture utility.
This can be useful when you want the files stored as regular files inside a specific folder.
Steps
- Connect your iPhone to the MacBook Air.
- Unlock the iPhone and approve the connection if prompted.
- Open Image Capture on the Mac.
- Select your iPhone from the list of connected devices.
- Choose the folder where you want to save the files.
- Select the photos you need.
- Click Download.
Image Capture is especially useful if you prefer organizing your pictures manually in folders instead of using the Photos library.
What to Do If Photos Won’t Transfer
Sometimes an iPhone may not appear on the Mac or a transfer may stop unexpectedly. Try these basic checks.
iPhone isn’t detected
Make sure the iPhone is unlocked and connected properly. If you see a Trust or Allow prompt, approve it.
You can also try another cable. Some cables are designed mainly for charging and may not support reliable data transfer.
Keeping both the iPhone and Mac updated can also help resolve compatibility problems.
AirDrop isn’t working
Check that Wi-Fi and Bluetooth are enabled on both devices. Also review the AirDrop visibility settings.
If you use Personal Hotspot, temporarily turn it off and try AirDrop again. Restarting both devices can also resolve temporary connection problems.
Some original photos aren’t available
If your iPhone uses storage optimization with iCloud Photos, the full-resolution version of some pictures may be stored in iCloud rather than locally on the device.
In that situation, give the iPhone time to download the original files before attempting a cable-based transfer.
HEIC photos won’t open in another app
iPhones commonly use the HEIC format for photos. Modern Apple devices generally support it, but some older or third-party applications may not.
If an application doesn’t support HEIC, you may need to convert or export the image to a more widely supported format such as JPEG.
Not enough storage
Before transferring a large collection, check the available storage on your MacBook Air. If you’re using iCloud Photos, also check your available iCloud storage.
A lack of free space can prevent a transfer or synchronization from completing successfully.
Which Photo Transfer Method Should You Choose?
The best option depends on what you are trying to do.
AirDrop is a good choice when you need to send a few photos quickly without using a cable.
iCloud Photos works well if you want your photo library to remain synchronized across your Apple devices.
Photos app import is useful for a larger, one-time transfer where you want to choose which items are copied to the Mac.
Image Capture is convenient when you want to save photos directly into normal folders rather than importing them into the Photos library.
Also read: How to Set Up and Use a Personal Hotspot on iPhone
Final Tips Before Deleting Photos
Don’t immediately delete the original photos from your iPhone after a transfer.
First, open several transferred pictures and videos on your MacBook Air and make sure they work properly. If you have transferred a large collection, check different files from different dates or albums.
Once you’re confident that the photos you need are safely available on the Mac or backed up elsewhere, you can decide whether you still want to remove them from your iPhone.
For the latest compatibility and transfer information, it’s best to check Apple’s official support documentation because the exact options can vary depending on the versions of iOS and macOS you are using.
